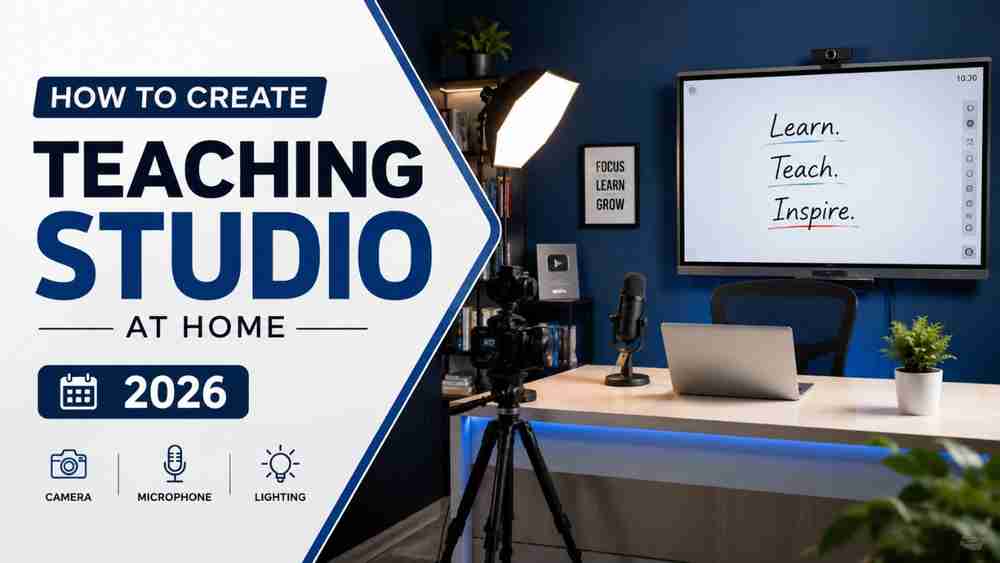
Introduction
Online teaching is growing every year. Many teachers, tutors, and coaching institutes now teach students through Zoom, Google Meet, and YouTube. A good teaching studio helps you create better videos, conduct live classes smoothly, and give students a better learning experience.
The good news is that you do not need a very expensive setup. With the right equipment and planning, you can create a professional teaching studio at home on almost any budget.
In this guide, you will learn everything you need to know about creating a teaching studio at home.
Why Do You Need a Teaching Studio?
A teaching studio is more than just a room with a camera. It helps you teach clearly and professionally.
Some benefits include:
- Better video quality
- Clear audio for students
- Professional online classes
- Record educational videos
- Teach on YouTube, Zoom, and Google Meet
- Build your personal teaching brand
- Create online courses
- Earn more through online teaching
A professional setup also creates a positive impression on students and parents.
Essential Equipment for a Teaching Studio
You don't need to buy everything at once. Start with the basics and upgrade later.
Basic Equipment
- HD Webcam or 4K Camera
- Wireless or USB Microphone
- LED Studio Lights
- Laptop or Desktop Computer
- High-Speed Internet
- OBS Studio Software
- Tripod
- Green Screen (Optional)
- Smart Board (Optional)
These tools help you create high-quality online classes.
Step 1: Choose a Quiet Room
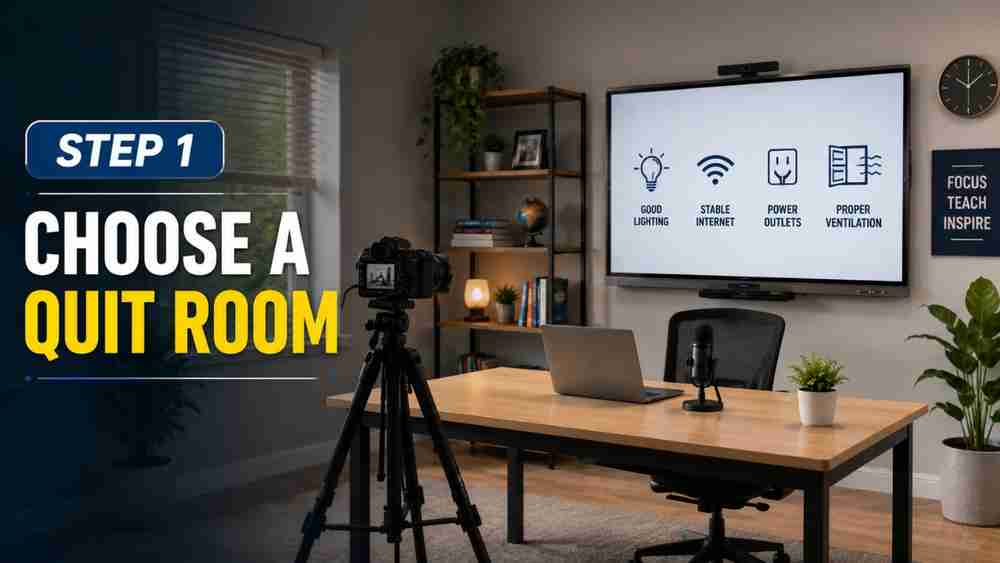
The first step is selecting the right room.
Choose a place where outside noise is very low. A quiet room helps students hear you clearly.
Make sure the room has:
- Good lighting
- Enough space
- Proper ventilation
- Stable internet connection
- Power outlets nearby
A clean and organized room also looks more professional.
Step 2: Set Up Good Lighting
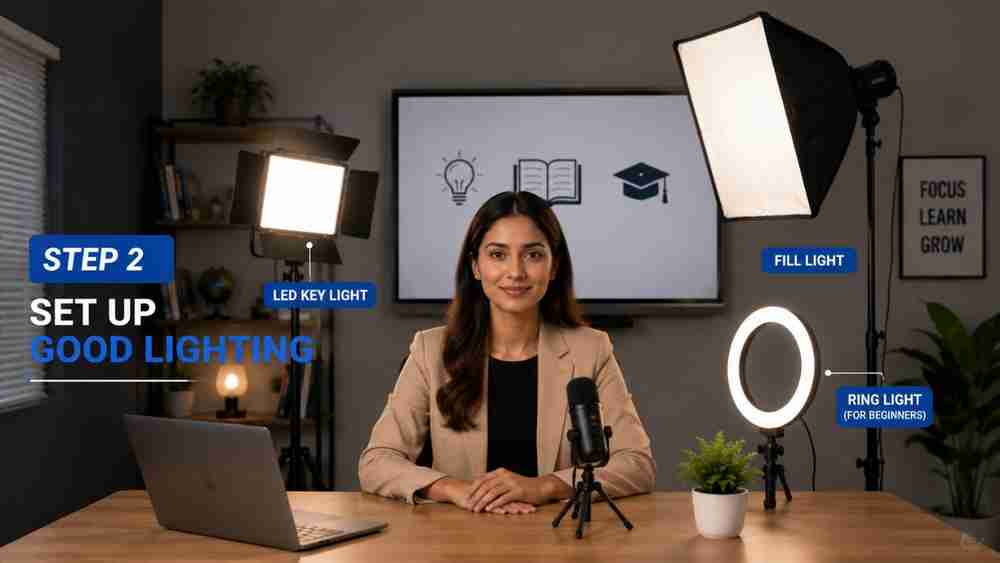
Lighting is one of the most important parts of video quality.
Even a good camera cannot produce great results in a dark room.
Use:
- LED Key Light
- Fill Light
- Ring Light (for beginners)
Soft white lights make your face look natural and reduce shadows.
Good lighting makes your videos look clear and professional.
Step 3: Use a Good Camera
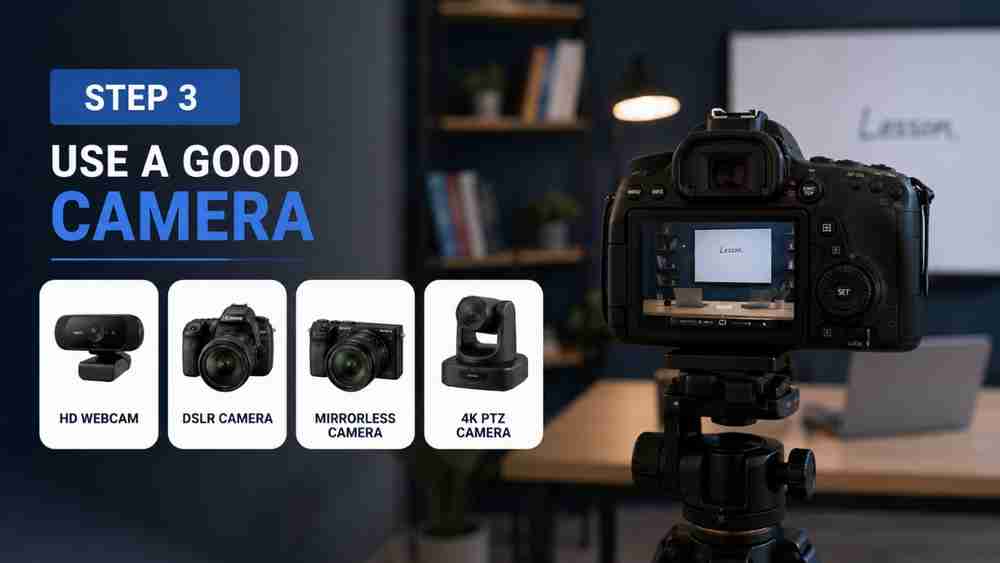
Students enjoy watching videos with clear picture quality.
You can choose:
- HD Webcam
- DSLR Camera
- Mirrorless Camera
- 4K PTZ Camera
If you move while teaching, a PTZ camera is a great option because it can automatically follow your movements.
For beginners, a good webcam is enough.
Step 4: Buy a Quality Microphone
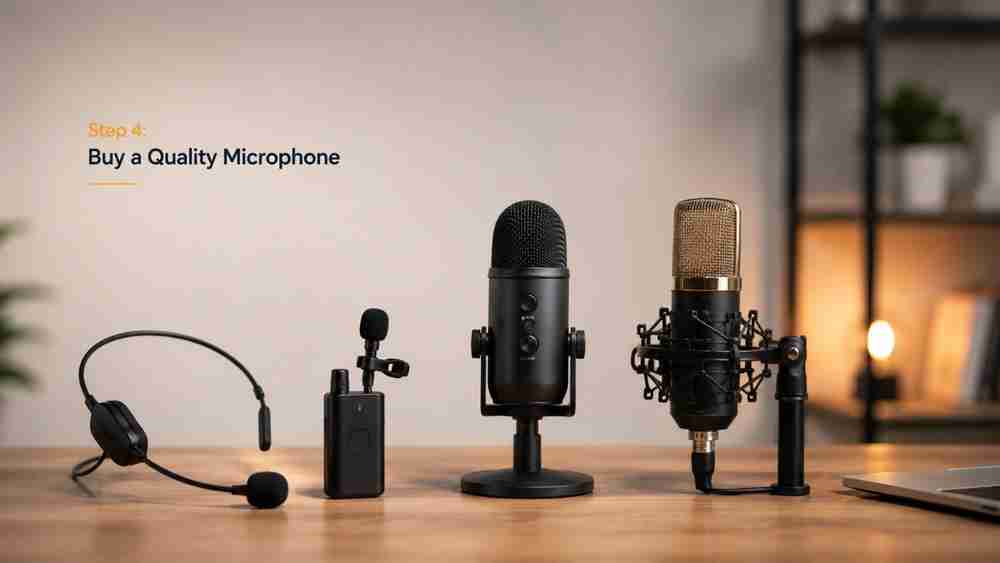
Clear sound is even more important than video.
Students may ignore average video quality, but poor audio can make learning difficult.
Popular microphone options are:
- Wireless Lapel Microphone
- USB Microphone
- Condenser Microphone
A good microphone removes background noise and makes your voice clear.
Step 5: Add a Smart Board
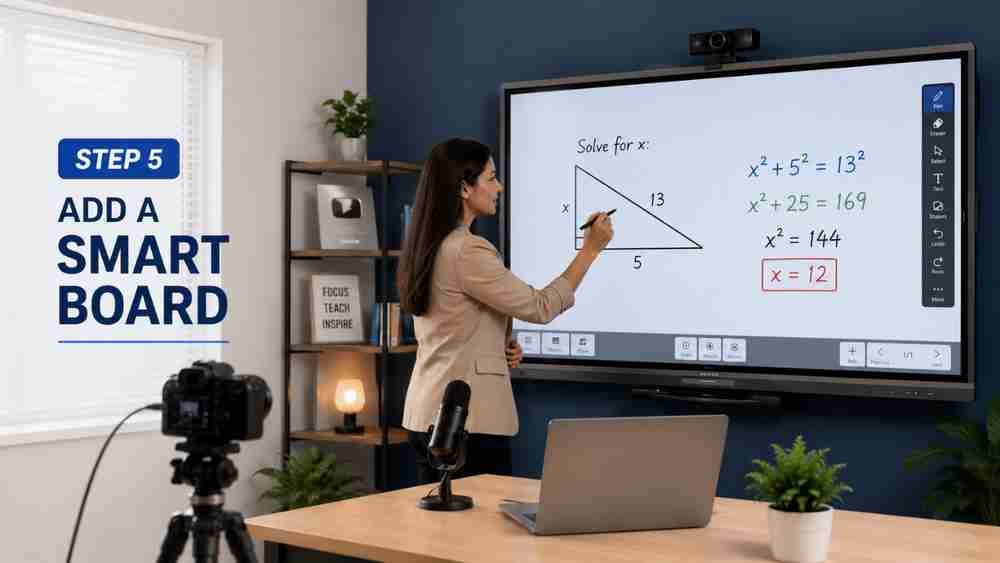
If your budget allows, install an Interactive Smart Board.
A smart board helps you:
- Write digitally
- Explain diagrams
- Solve questions
- Show presentations
- Record lessons
- Make classes interactive
It creates a classroom-like experience for online students.
Step 6: Install OBS Studio
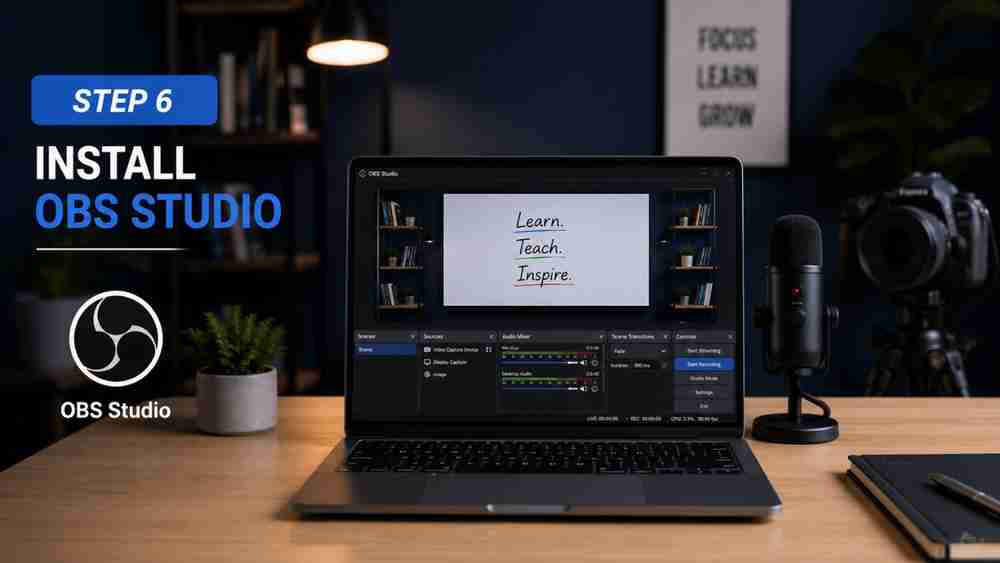
OBS Studio is free software used by many teachers and YouTubers.
It allows you to:
- Record classes
- Go live on YouTube
- Share your computer screen
- Add your logo
- Use multiple cameras
- Save videos in high quality
It is simple to use and works on both Windows and Mac.
Step 7: Keep Your Background Clean
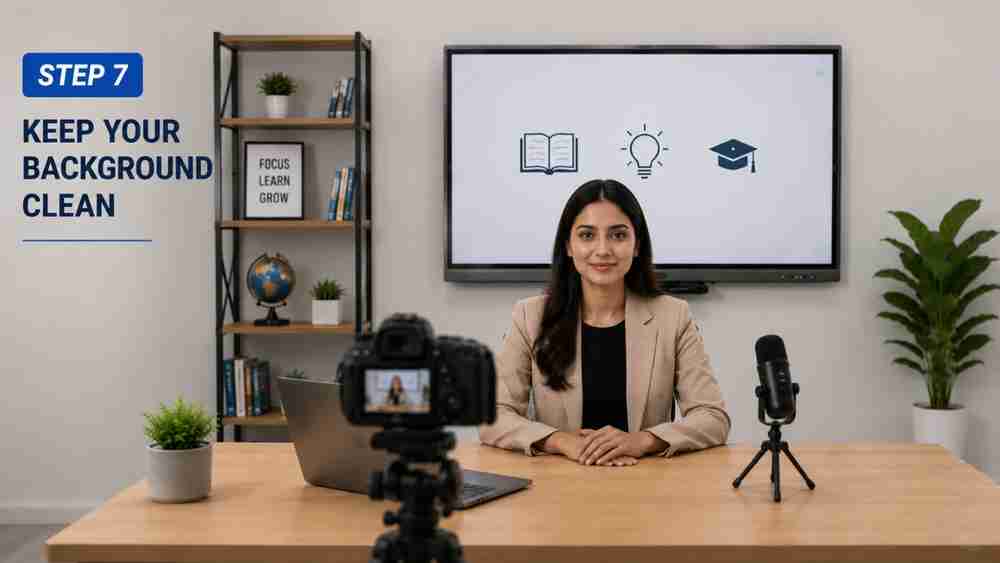
Students should focus on your lesson, not your background.
A simple background works best.
You can use:
- Plain wall
- Bookshelf
- Smart Board
- Green Screen
Avoid messy or distracting backgrounds.
A clean setup makes you look more professional.
Step 8: Use Fast Internet
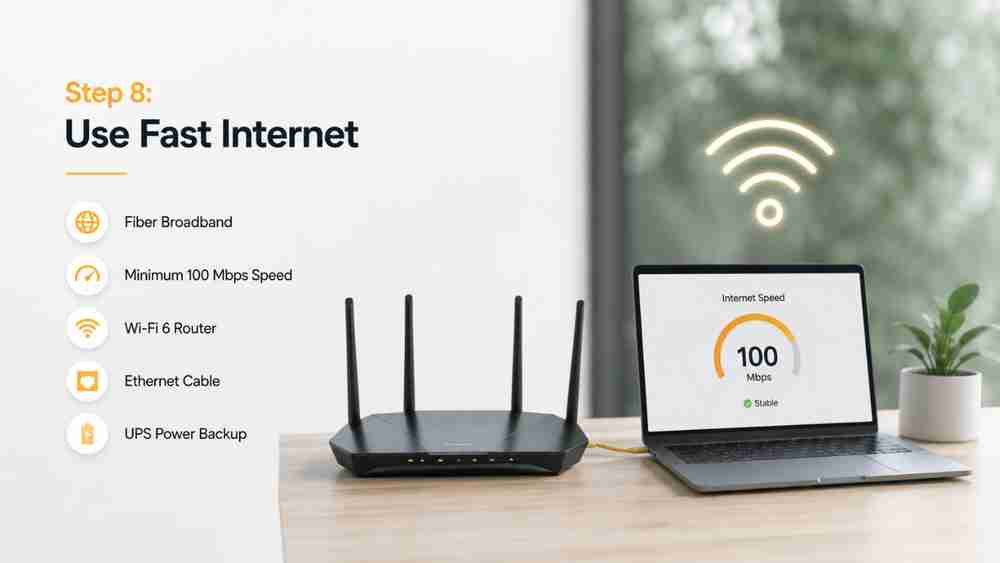
A stable internet connection is necessary for online teaching.
A slow connection can interrupt your classes.
For the best experience, use:
- Fiber Broadband
- Minimum 100 Mbps Speed
- Wi-Fi 6 Router
- Ethernet Cable
- UPS Power Backup
A stable internet connection keeps your classes running without problems.
Budget for a Teaching Studio
You can build a teaching studio based on your budget.
Under ₹50,000
- Webcam
- USB Microphone
- Ring Light
- Tripod
- Laptop
- OBS Studio
Under ₹1 Lakh
- PTZ Camera
- Wireless Microphone
- LED Lights
- Powerful Computer
- Green Screen
Premium Studio
- Interactive Smart Board
- 4K PTZ Camera
- Professional Audio System
- Studio Lighting
- Dual Monitor Setup
- Acoustic Panels
Start with the essentials and upgrade as your online teaching grows.
Common Mistakes to Avoid
Many teachers spend money on expensive equipment without proper planning.
Avoid these mistakes:
- Poor lighting
- Using the laptop's built-in microphone
- Slow internet connection
- Untidy background
- No audio testing before class
- Buying equipment without checking compatibility
Planning your setup carefully saves money and improves teaching quality.
Future of Teaching Studios
Teaching is becoming more digital every year.
Some new trends include:
- AI-powered teaching tools
- Automatic subtitles
- Interactive Smart Boards
- Multi-camera recording
- Cloud recording
- Hybrid classrooms
- Online learning platforms
Teachers who use modern technology can provide a better learning experience for students.
Why Choose Edumark Technologies?
Building a teaching studio can be confusing if you are buying equipment for the first time.
Edumark Technologies provides complete teaching studio solutions for teachers, schools, coaching institutes, colleges, and universities across India.
Services include:
- Teaching Studio Setup
- Interactive Smart Boards
- PTZ Camera Installation
- Hybrid Classroom Setup
- Professional Audio Systems
- Studio Lighting
- LMS Solutions
- School Website Development
- Education App Development
- Technical Support
From planning to installation and training, Edumark Technologies helps you create a professional teaching studio that fits your budget.
Conclusion
Creating a teaching studio at home is one of the best investments for teachers in 2026. It helps you deliver better online classes, create professional videos, and build your teaching career.
You don't need a huge budget to get started. Begin with a good camera, clear microphone, proper lighting, and a stable internet connection. As your teaching grows, you can upgrade your studio with a smart board, PTZ camera, and other professional equipment.
With the right setup, you can teach confidently, engage more students, and create a better learning experience.